Drawing yourself in the Simpsons style is about simplifying your real-life features. Think big, round eyes, an overbite, and, of course, that famous yellow skin. The trick is to capture your most well-known traits—like your hairstyle or a favorite outfit—and draw them in the show’s simple, iconic look.
Your First Steps into Springfield
Have you ever imagined having a beer at Moe’s or sitting on that famous couch with the family? Learning how to draw yourself as a Simpsons character is a fun way to connect with a classic art style. This isn’t just about copying; it’s about putting your personality into the world of Springfield.

This guide will walk you through the whole process, focusing on the small details that make the show’s animation so unique. We’ll start with the basic rules that the show’s artists have used for years.
Understanding the Simpsons Look
Before you start drawing, it helps to understand what makes this style so special. The Simpsons look is built on a few simple but important rules. Think of this as a warm-up.
Here’s what you need to know:
- Simple Shapes: Characters are made from basic shapes. Think circles for heads, ovals for bodies, and simple rectangles for arms and legs.
- Bold Outlines: Everything has a thick, black outline. This makes the characters stand out.
- Minimal Detail: Less is more. Noses are just simple bumps or curves, and everyone has only four fingers on each hand.
- Expressive Eyes: Those huge, white, round eyes are key for showing emotion. They are a famous part of the show’s style.
Getting these main elements right is the most important part of the process. Your goal should be to simplify, not to be realistic. That’s how you’ll get the Springfield look.
If you want a quick shortcut or some ideas before you start, you can use an AI face-to-cartoon tool to create a digital version first. And for those who prefer an even faster route, you can always use SimpsonizeMe.
Getting the Iconic Simpsons Head and Face Right
If you want your drawing to look like it’s from Springfield, you must get the head and face right. This is the foundation of every character on the show. They are all built from simple, recognizable shapes. I always start by sketching a basic circle or a slightly long oval. This gives me a solid base for the head.
Next, it’s time to place the features. The eyes are probably the most important part. They are always big, perfectly round, and sit right next to each other—sometimes even touching. You can’t skip this detail; it’s a necessary part of the look.
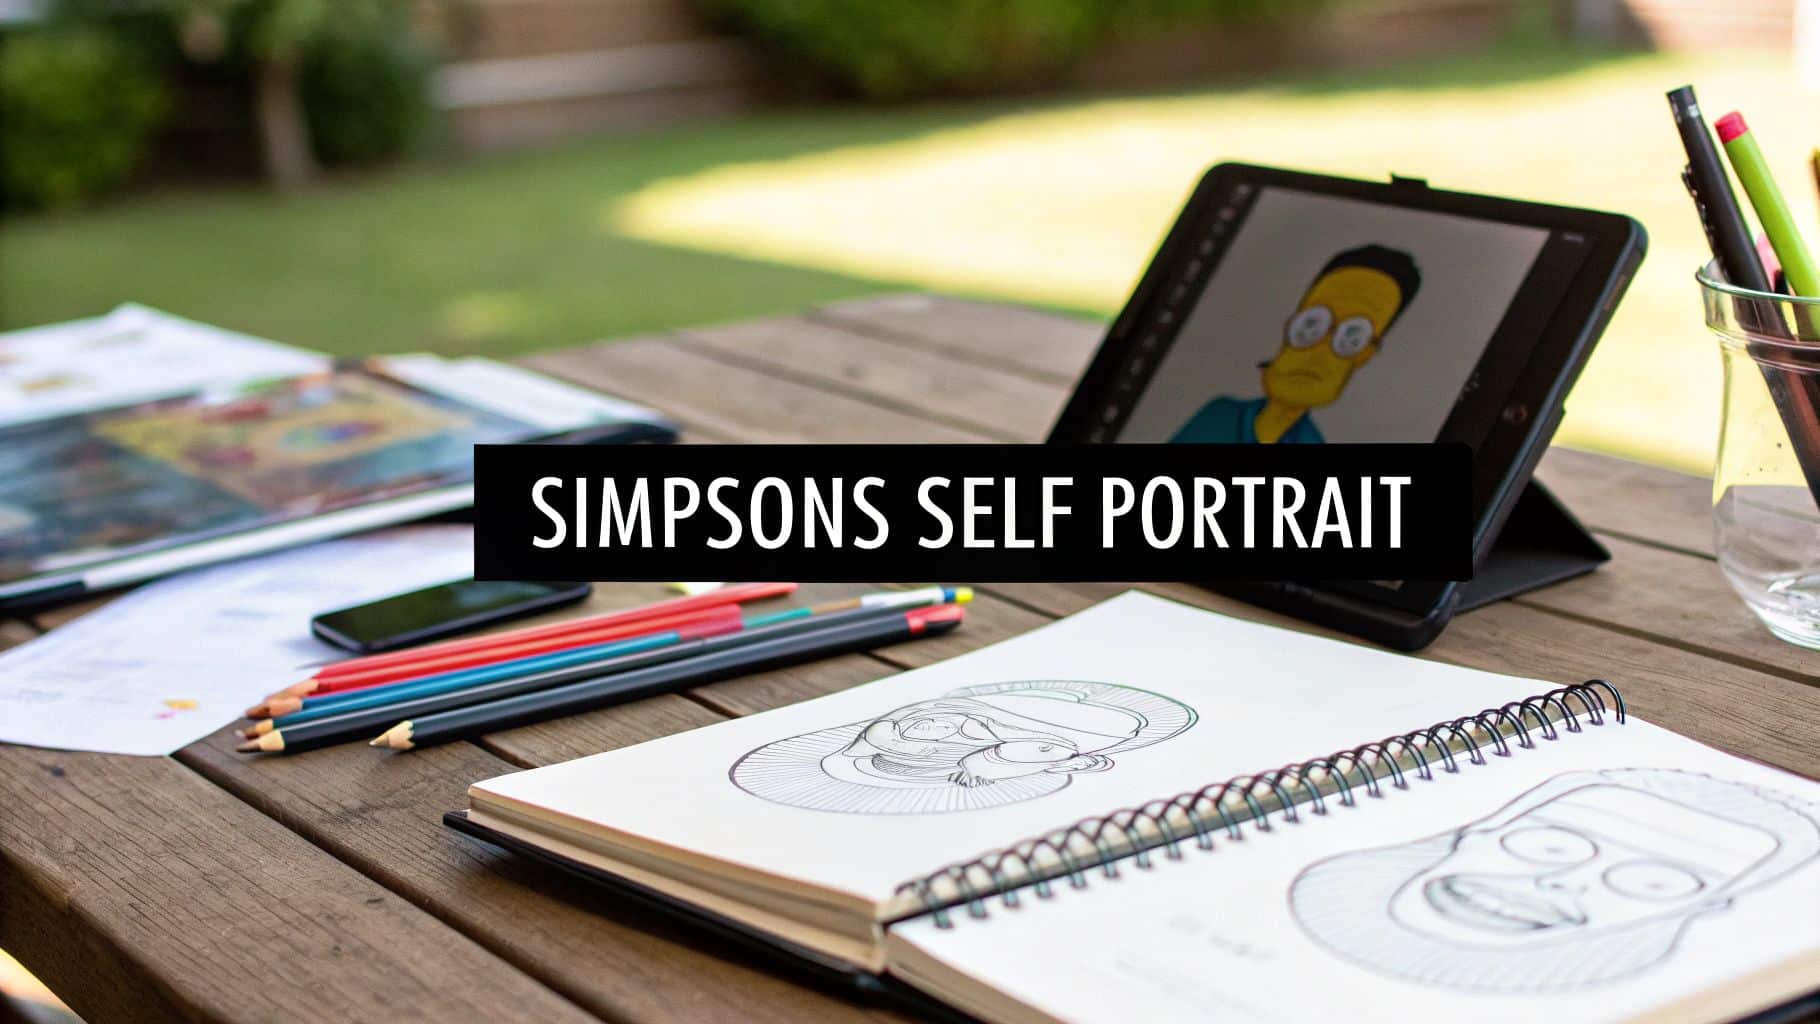
This quick visual guide shows the first few steps for sketching a basic Simpsons head shape.

As you can see, starting with a circle and adding simple guidelines makes it much easier to place everything else. This method is your secret to keeping the proportions true to the show’s classic style.
Nailing the Facial Features
Once your head shape is drawn, you can focus on the individual features. The nose, for example, is never complex. It’s usually just a simple curved line that comes down from between the eyes, making a small bump. It’s a tiny detail, but you have to resist adding realistic nostrils or shading.
The mouth is another key feature. Most characters have a noticeable overbite, with the upper lip sticking out over the lower jaw. This detail adds personality and is a must-have for an authentic feel. Try to think about how your own smile can be simplified into this classic Homer-like mouth shape.
Here’s something to remember: The show’s creators follow very strict rules. Following these rules is what makes a character look like they belong in Springfield instead of just being a generic yellow cartoon.
For example, the animators have used a large style guide since 1990 that explains everything. A fun fact from that guide: Lisa’s nose must always overlap her eyes, and her smile can’t be pointy. Details like these are why the designs are so consistent and well-known.
Adding Ears and Final Touches
Don’t overthink the ears. In the Simpsons world, they’re usually just a small “C” shape or a simple curve on the side of the head. I usually place them in line with the horizontal guide I drew earlier. Simplicity is key here.
Making all these elements work together is the real challenge. If you want to learn more, you can explore the main rules of the Simpsons art style in our detailed guide. Combine them correctly, and your cartoon self will look right at home in Moe’s Tavern.
Designing Your Body and Wardrobe
Okay, you’ve finished the head. Now for the fun part: giving your character a body and a unique outfit. The key here is to forget realistic body shapes. The Simpsons’ world is all about simple, expressive forms. You are not drawing a realistic person; you are capturing the idea of you.

Think in basic geometric shapes. Arms and legs are just tubes, and you usually don’t need to draw elbows or knees unless a character is bending a lot. And don’t forget the most important rule: everyone has just four fingers. It’s not a mistake; it’s a key part of the show’s style and a common animator’s shortcut.
Adapting Your Personal Style
Your outfit is where you can really add your personality to the character. What’s your typical look? A favorite band t-shirt, a comfy hoodie, your work uniform? Pick something that represents you and get ready to simplify it.
Here’s how to turn your clothes into a cartoon:
- Pick one signature outfit. Don’t try to draw your whole wardrobe. Choose the one look people know you for.
- Simplify any patterns. If you have a shirt with a complex floral print, turn it into a few simple flower shapes. A busy graphic on a t-shirt becomes a basic icon.
- Stick to flat colors. The Simpsons style uses bold, flat colors and thick black outlines. No gradients or fancy shading is needed.
For your body shape, the goal is to create a silhouette that’s easy to recognize. Whether you’re tall like Sideshow Bob or have a rounder build like Homer, exaggerate it slightly. This helps it fit into the cartoon world.
It’s interesting that the show’s style has changed over the years. The first season had much rougher designs. Over time, the look became more rounded and consistent, which made it easier to animate the characters. That four-fingered hand, for example, saved animators a lot of time.
Following this simple, clean style is the best way to make your portrait feel like it belongs in Springfield.
Bringing Your Character to Life with Color
Okay, your character is all sketched out. Now it’s time for the fun part—the part that really makes it look like The Simpsons. We’re talking about color. This is where your drawing changes from a simple sketch to something from Springfield. The whole look depends on using flat, solid colors and those famous bold, clean lines.
The first thing to get right is the signature yellow skin. Using the correct shade of yellow makes a huge difference in whether your portrait looks real or not. After that, you’ll pick a few simple colors for the hair and clothes to match the show’s look.
Choosing Your Simpson Palette
One of the secrets to the show’s look is its limited color palette. This is on purpose; it’s a choice that keeps the animation looking consistent and bold. You’ll want to avoid gradients, complex shading, or anything too soft. Less is definitely more here.
Think about what you usually wear and find a way to simplify it. Have a favorite t-shirt with a detailed graphic? Just turn that design into a basic shape with a single, solid color.
To get you started, here’s a quick guide to some of the main colors that make up the world of The Simpsons.
Simpsons Character Color Palette Guide
This table shows the essential hex codes you’ll need to get that classic Springfield look for skin, hair, and common clothing items.
| Element | Primary Color Hex Code | Notes |
|---|---|---|
| Skin | #FFD90F | This is the classic, must-use yellow. Get this right! |
| Hair | #000000, #402804, #92D3F5 | Black, a simple brown, or Marge’s famous blue are safe choices. |
| Clothing (Blue) | #0074CC | Think of this as the right blue for items like Marge’s dress or a pair of jeans. |
| Clothing (Red/Orange) | #E32D20, #F47C20 | Perfect for outfits like Lisa’s dress or Bart’s t-shirt. |
Sticking to these proven colors will instantly make your character feel like they belong on the show.
The real secret is to keep things simple. A limited palette of just 3-4 main colors for your entire character is usually all you need. This simplicity is what makes the final drawing look so clean and professional.
Applying Color and Final Outlines
Once you’ve chosen your colors, start filling in each area. This is where digital tools like the “paint bucket” or “fill” feature in Procreate or Adobe Illustrator are very helpful. They let you add solid, flat color in seconds. If you’re drawing on paper, a good set of markers or paint pens will give you that bright, even color you want.
The very last step is to go back over your sketch lines with a thick, bold black outline. This is the final touch that truly brings the character to life and gives it that classic Simpsons style.
If you’re curious about other ways to make cartoons, our guide on how to turn your photo into a cartoon explores some great alternative methods you might find useful.
Common Pitfalls to Sidestep When Drawing
When you’re first learning to draw in the Simpsons style, it’s easy to make a few common mistakes. The biggest one I see is the desire to add too many details.
It feels normal to add lines for wrinkles or try realistic shading, but you have to avoid that. The show’s entire look is built on simplicity, and those extra details will make your character look out of place in Springfield.

Another common mistake is getting the proportions wrong. Many people draw the eyes too small or put them too far apart. You have to remember, those huge, connected eyes are a signature of the style—they’re not optional! The same goes for the nose; drawing a realistic nose instead of that simple little bump immediately ruins the look.
How to Keep Your Character Looking Authentic
If you want your drawing to look like it could actually be on the show, you need to stick to some very specific rules. Here are the big ones people often forget:
- The Fifth Finger: This is a clear mistake. Every character in Springfield has four fingers. Adding that fifth one is the fastest way to make your character look like it’s from another cartoon.
- Weak Outlines: The Simpsons style is known for its bold, clean, black lines. If your outlines are thin or sketchy, the whole drawing will look weak and wrong.
- Wrong Colors: Don’t just guess the colors. Using a yellow that’s slightly off, or picking dull colors for the clothes, can totally ruin the final look.
The key thing to remember is that you’re simplifying reality, not copying it. Every choice you make—from the number of fingers to the nose shape—needs to follow the rules of the Simpsons universe.
By just keeping these few things in mind, you’ll avoid the most common mistakes, and your self-portrait will look like it truly belongs.
Got Questions About Drawing Yourself as a Simpsons Character?
Trying out the Simpsons’ art style can be fun, but it’s normal to have questions. It’s a very specific look, and there are some unwritten rules that can be tricky. Let’s go over a couple of the most common questions artists ask.
First, people always ask about the best tools. You can use pencils and markers, but for that real, on-screen look, digital tools like Procreate or Adobe Illustrator make things easier. The fill tools are great for getting those flat, solid colors, and vector lines give you that clean, bold black outline that is a key part of the style.
How to Look Like You in Springfield
This is the big question: “How do I make it look like me without being too realistic?” It’s a balance. The secret is not to overthink it. Just pick one or two of your most noticeable features and focus on them.
- Your Hair: Do you have a unique hairstyle, a certain part, or a bold color? That’s your starting point. Exaggerate it just a little.
- Your Gear: Are glasses your signature? Maybe a favorite hat or a piece of jewelry you always wear? Those details help people recognize you instantly.
- Your Style: Think about your main outfit. Break it down into simple shapes and colors. A t-shirt and jeans? A hoodie? Keep it simple.
Remember, you’re not making a perfect photo; you’re creating a caricature. The trick is to simplify yourself down to the basics. Your haircut, your glasses, your smile – these are the things that will make the character look like you, while still looking like they could meet Homer at Moe’s.
Ready to skip the learning curve and see the final result? The artists at Simpsonize Me can handle it for you. We’ll turn your photo into a personalized, spot-on Simpsons portrait. Get your custom cartoon at Simpsonize Me today